
Why Is My Peel and Stick Wallpaper Falling Off?
GiffywallsAre you considering the trendy peel and stick wallpaper for your next home makeover? It’s easy to see why—this innovative option promises a quick, mess-free installation and easy removal. But, it’s not all smooth sailing; sometimes, this seemingly perfect solution can start to peel and droop, much to the dismay of homeowners. Why does this happen, and how can you prevent it?
In this article, we'll explore the most common reasons why peel and stick wallpaper may start falling off and share expert tips to ensure it remains beautifully intact. From the importance of surface preparation to choosing the best adhesives, learn how to achieve a flawless finish that lasts.
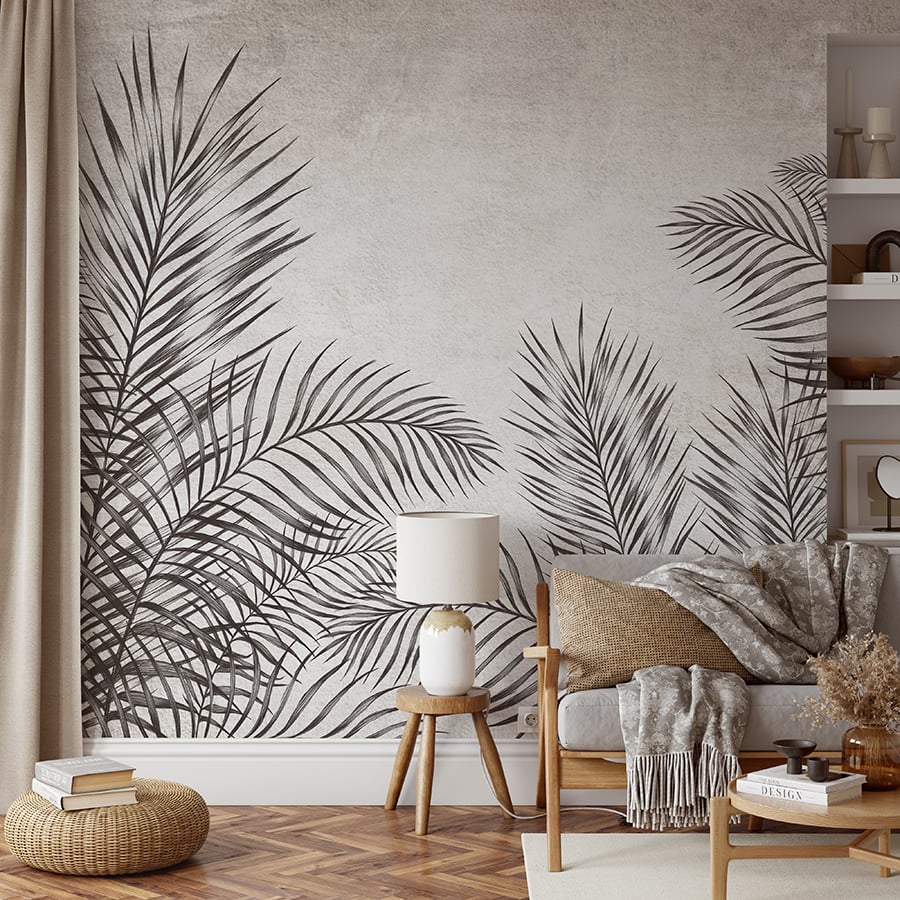
Optimal Surface Preparation for Long-Lasting Peel and Stick Wallpaper
Ensuring that your peel and stick wallpaper adheres securely and looks perfect for years begins with proper surface preparation. A meticulously prepared wall is the foundation of a flawless application, preventing issues like peeling or bubbling. Follow this comprehensive guide to prepare your walls like a pro:
Clean Thoroughly
Begin with a completely clean surface. Dust, oil, and residues can weaken the wallpaper’s adhesive. Clean the walls with a solution of mild detergent and water using a soft cloth or sponge. For areas with tougher stains, such as kitchens, a degreasing agent may be necessary. Finish by rinsing the walls with clean water to remove any detergent residue.
Dry Completely
Wallpaper must be applied to a dry wall. After cleaning, let the walls air dry or pat them down with a dry cloth. In humid conditions, a dehumidifier can help, or choose a day with lower humidity for your project.
Smooth the Surface
The adhesive bonds better to smooth surfaces. Fill any holes or cracks with spackling paste, sanding it smooth once dry. For textured walls, light sanding might suffice, but for heavily textured surfaces, consider applying a wall liner for a smoother base.
Apply Primer If Necessary
A primer can significantly improve adhesion, especially on porous or imperfect walls. Apply a suitable primer and allow it to dry completely as per the manufacturer’s instructions.
Wait for Paint to Cure
If your walls are newly painted, patience is essential. Wait at least three weeks for the paint to fully cure as fresh paint can compromise the wallpaper’s adhesive.
Conduct a Patch Test
Before fully committing, test the wallpaper’s adherence with a small patch in an inconspicuous area. Leave it for a few days to check for peeling or detachment, providing insights into the effectiveness of your surface preparation.
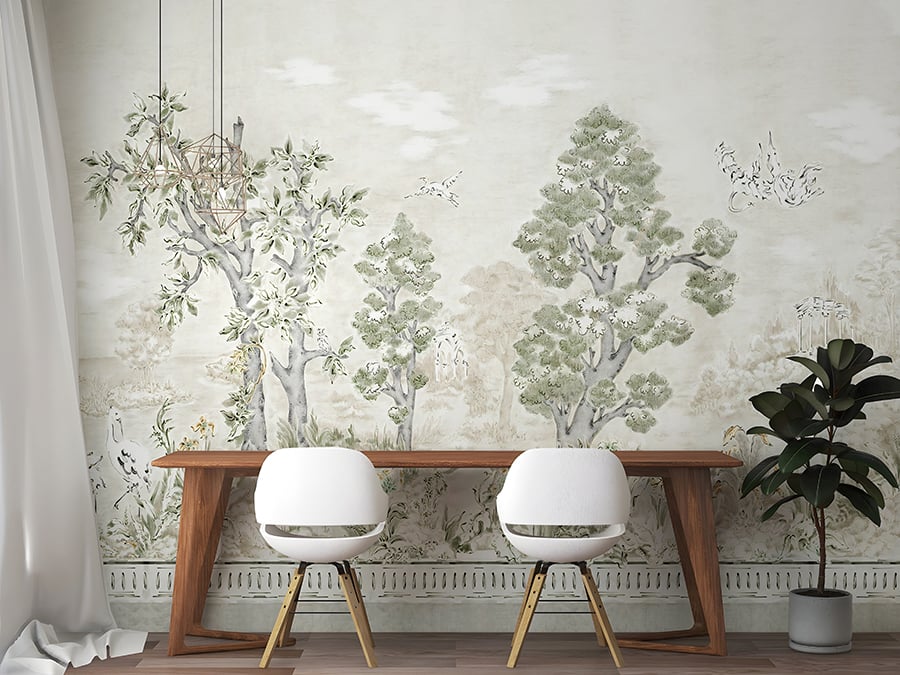
Environmental Factors Affecting Self-adhesive Wallpaper
Environmental factors play a pivotal role in how well Self-adhesive wallpaper adheres to a surface and maintains its appearance. When these factors are not considered, the wallpaper may not stick properly, could peel off prematurely, or may even discolour. Here is a detailed look at these factors and how to mitigate their effects:
1. Temperature: The ambient temperature can influence the adhesive's performance.
- Problem: Extreme cold can make the adhesive brittle, while extreme heat can make it too soft and reduce its tackiness.
- Solution: Apply the wallpaper in a room with a moderate and stable temperature, typically between 65°F and 75°F (18°C to 24°C). Avoid installing wallpaper near heat sources like radiators or in direct sunlight.
2. Humidity: Moisture in the air can impact the adhesive and the wallpaper material itself.
- Problem: High humidity can weaken the adhesive's bond, causing the wallpaper to peel. Additionally, moisture can cause the wallpaper to expand or contract.
- Solution: Ideally, apply wallpaper when the room's relative humidity is between 40% and 60%. Using a dehumidifier can help in rooms prone to high humidity.
3. Air Circulation: Adequate ventilation ensures that any off-gassing from the adhesive disperses and does not impact the bond.
- Problem: Poor air circulation can trap solvents or moisture, affecting the wallpaper's adhesion and potentially leading to mould growth behind the wallpaper.
- Solution: Ensure the room is well-ventilated during and after the application. Open windows or use fans to promote air circulation.
4. Exposure to Light: Direct sunlight can affect both the color and adhesive of the wallpaper.
- Problem: Prolonged exposure to UV rays can cause the wallpaper's colors to fade and can weaken the adhesive over time.
- Solution: If applying wallpaper in a room with lots of natural light, consider using UV window film or shades to protect the wallpaper from direct sunlight.
5. Seasonal Changes: Seasonal fluctuations in temperature and humidity can impact the wallpaper.
- Problem: The repeated cycle of expansion and contraction due to seasonal changes can cause the wallpaper to peel at the edges or create bubbles.
- Solution: Ensure that the room's environment is as stable as possible. Using climate control can help maintain a consistent environment.
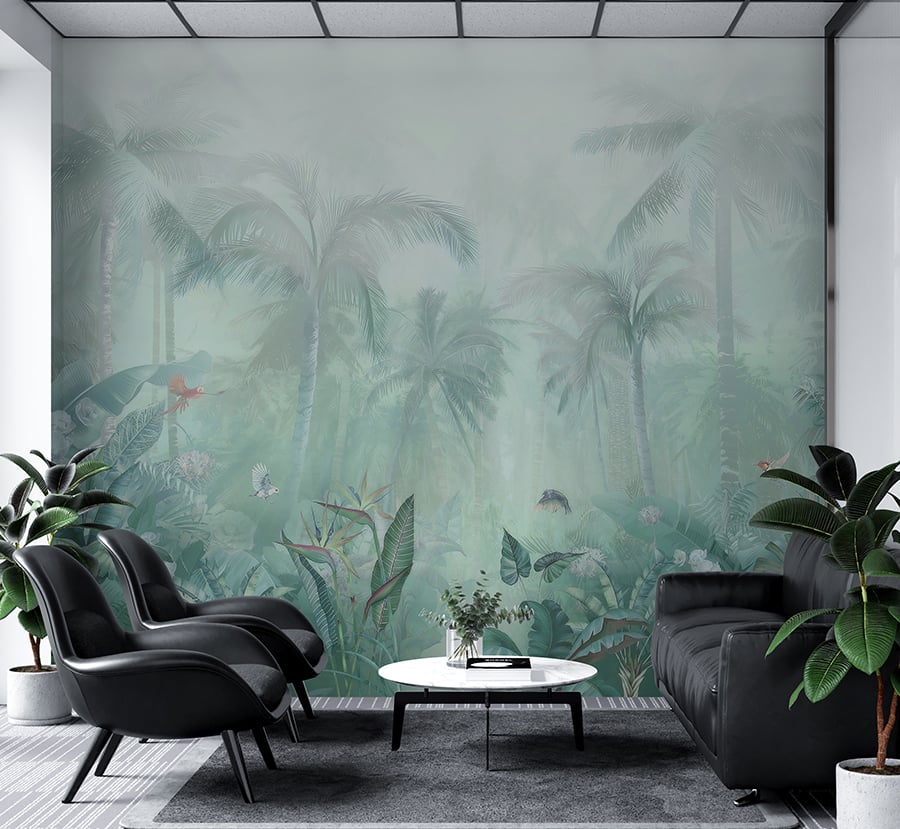
Wall Texture and Its Impact on Removable Wallpaper
The texture of your wall can significantly influence the outcome of your removable wallpaper project. A textured or irregular surface may pose challenges to the adhesion, visual appeal, and durability of stick-on wallpaper. Consequently, it is essential to examine the impact of wall texture on wallpaper application and strategize on overcoming possible obstacles:
1. Types of Wall Textures: Various common wall textures exist, such as orange peel, knockdown, skip trowel, and popcorn. Consequently, each texture poses unique challenges when applying wallpaper.
2. Adhesion Issues: The main challenge with textured walls is achieving a consistent adhesive bond.
- Problem: Peaks and valleys in the texture can result in pockets of air beneath the wallpaper, leading to bubbles or areas where the wallpaper does not adhere properly.
- Solution: For lightly textured walls, you can use a wallpaper liner or a heavy-duty adhesive primer to bridge the gaps and create a smoother surface. For heavily textured walls, consider sanding or skimming the wall with a joint compound to achieve a smoother finish.
3. Appearance: The wall's texture can show through the wallpaper, affecting its appearance.
- Problem: Even if the wallpaper adheres well, raised textures can be visible, giving the wallpaper a bumpy or uneven look.
- Solution: Option for thicker wallpaper that can mask minor imperfections. Alternatively, use a wall liner to create a smooth layer between the wall and the wallpaper.
4. Longevity: Textured walls can reduce the lifespan of your wallpaper.
- Problem: Areas of the wallpaper that are not in full contact with the wall due to the texture can start to peel away over time.
- Solution: Ensure that the wallpaper is pressed firmly into the texture during application. Using a wallpaper smoother or squeegee can help push the wallpaper into the textured surface, ensuring better adhesion.
5. Specialty Wallpapers: Some wallpapers are designed specifically for textured walls.
- Tip: If you want to keep your wall's texture the same, look for wallpapers labeled as suitable for textured surfaces. These are typically thicker and have a stronger adhesive backing to grip onto uneven surfaces.
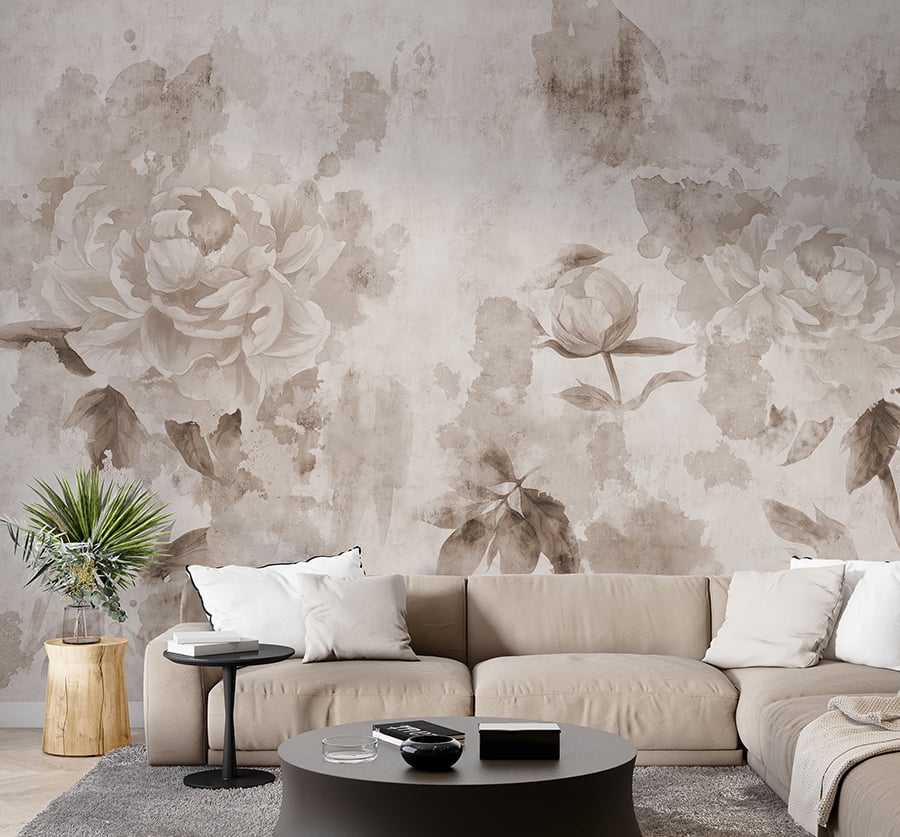
Quality of Peel and Stick Wallpaper: More Than Just Aesthetic
When choosing adhesive wallpaper, many people prioritize design and color, often overlooking the importance of quality. However, the quality of the wallpaper plays a crucial role in how it adheres, appears over time, and its overall lifespan. Here is why quality matters:
1. Strength of Adhesive: The adhesive's quality directly impacts how well the wallpaper sticks to the wall.
- Problem: Low-quality wallpapers may have weak adhesive backings that fail to stick properly or start peeling off soon after application.
- Solution: Option for reputable brands known for their adhesive strength. Reading reviews and seeking recommendations can also help in identifying high-quality options.
2. Material Durability: The durability of the wallpaper material determines how it withstands wear and tear.
- Problem: Cheap, thin wallpapers can tear easily during application, show imperfections from the wall beneath, and fade faster.
- Solution: Look for thicker wallpapers or those made from robust materials like vinyl, which are resistant to moisture and less likely to tear or stretch.
3. Color Fastness: High-quality wallpapers retain their colors longer, even in challenging conditions.
- Problem: Low-quality wallpapers may fade quickly, especially when exposed to sunlight or moisture.
- Solution: Check for wallpapers that have UV-resistant or fade-resistant properties, especially if you are applying them in sunny areas.
4. Repositionability: One of the advantages of temporary wallpaper is the ability to reposition it during application.
- Problem: With some low-quality options, the adhesive might weaken considerably upon repositioning, compromising its ability to stick properly.
- Solution: Premium wallpapers often tout their repositionable nature, allowing for adjustments during application without losing adhesive strength.
5. Eco-friendliness and Safety: Quality often extends to the safety and environmental impact of the wallpaper.
- Tip: Look for wallpapers that are free from harmful chemicals VOCs (Volatile Organic Compounds), and are printed using environmentally friendly inks. This not only ensures a safer indoor environment but is also better for the planet.
6. Print and Design Quality: While this is more about aesthetics, a high-quality print can make a significant difference in the room's overall look.
- Tip: Wallpapers from reputable brands or designers often have clearer, sharper prints that look more luxurious and professional.

Handling and Application of Reusable Wallpaper
The correct handling and application of Peel-off wallpaper are paramount to achieving a smooth, bubble-free finish that lasts. Even with the best-quality wallpaper and optimal wall conditions, improper handling and application can lead to a host of issues. Here is a breakdown of best practices and potential pitfalls:
1. Unrolling and Acclimation: Before you begin, it is essential to let the wallpaper adjust to the room's environment.
- Tip: Unroll the wallpaper and let it lay flat for several hours or overnight. This allows it to acclimate to the room's temperature and humidity, reducing the risk of contraction or expansion once applied.
2. Aligning and Starting: Ensuring a straight start is critical for the rest of the application.
- Problem: Beginning with even a slight deviation can disrupt the overall alignment, resulting in additional waste and the possibility of patterns not aligning correctly.
- Solution: Begin by utilizing a level to draw a vertical guide line where you aim to start. Consequently, this will guarantee that your wallpaper aligns accurately right from the start.
3. Avoid Stretching: Pre-pasted wallpaper is somewhat elastic, presenting both advantages and challenges.
- Problem: Overstretching can distort the pattern and reduce the adhesive's effectiveness.
- Solution: Roll out and apply the wallpaper slowly, ensuring not to pull or stretch it too taut. If using a smoother or squeegee, work gently to avoid stretching.
4. Air Bubbles: One of the most common issues during application is the formation of air bubbles.
- Problem: Bubbles can be unsightly and can lead to peeling if they are near the edges.
- Solution: As you apply the wallpaper, use a smoother or squeegee to push out air bubbles towards the edges. If a bubble is trapped, you can make a tiny incision with a pin to release the air, then smooth it down.
Overlapping Seams in Pre-pasted Wallpaper
Seams are where two edges of peel and stick wallpaper meet. Properly managing seams is essential for a cohesive and polished appearance. When not handled correctly, seams can become the most noticeable and problematic areas of a wallpapered room. Here is how to approach overlapping seams and the challenges they present:
1. Purpose of Overlapping: Some wallpapers, especially those with intricate patterns or designs, are intended to be overlapped to ensure the pattern matches seamlessly across sheets.
- Tip: Always check the manufacturer's instructions. Some wallpapers are designed to be "butt jointed" (edges touching but not overlapping), while others require a slight overlap.
2. Challenge of Visibility: Overlapping can sometimes result in visible seams, especially if not done correctly.
- Problem: If overlapped too much, a raised ridge can appear, making the seam noticeable.
- Solution: Use a straightedge and a sharp utility knife to trim away the excess, creating a clean, tight seam.
3. Adhesion at the Seam: The area where wallpapers overlap can sometimes have adhesion issues.
- Problem: The top layer may not stick well to the layer beneath, leading to peeling or lifting.
- Solution: Apply a thin layer of wallpaper seam adhesive to ensure both layers bond securely.
4. Pattern Matching: Ensuring patterns align at the seams is crucial for a professional look.
- Problem: If patterns do not align, the seam becomes very noticeable, disrupting the design flow.
- Solution: When cutting your wallpaper, account for pattern repeats. This might mean wasting some material to ensure patterns match up at the seams.
5. Seam Rollers: A tool often used to ensure tight seams.
- Tip: After overlapping and ensuring the pattern match, use a seam roller to press down the seam gently. This ensures good adhesion and helps make the seam less noticeable.
6. Future Considerations: Overlapping can have implications if you ever decide to remove or replace the wallpaper.
In Conclusion
Peel and stick wallpaper can be a fantastic way to revamp a room without the commitment of decorating your home with a look of real wallpaper effect for modern living. By understanding the potential issues and addressing them proactively, you can enjoy a beautiful and lasting result. If you have tried everything and are still facing issues, consider consulting with a professional or opting for a different wall treatment.
Frequently Asked Questions (FAQs) about Peel and Stick Wallpaper
Q: How long does peel and stick wallpaper last?
A: With proper application and care, high-quality Self-adhesive wallpaper can last several years. The lifespan largely depends on environmental factors, wall conditions, and the quality of the wallpaper itself.
Q: Can I apply Removable wallpaper to a bathroom or kitchen?
A: Yes, but ensure that the wallpaper is designed for high-humidity environments. It is also crucial to have proper ventilation in these rooms to reduce moisture buildup, which can affect the adhesive.
Q: Is it necessary to prime walls before applying Stick-on wallpaper?
A: While it is not always required, priming can create a smoother surface and improve adhesion, especially if the walls are porous or have imperfections.
Q: Can I reposition the wallpaper if I make a mistake during application?
A: Most Adhesive wallpapers are designed to be repositionable, allowing for adjustments during the application. However, repeatedly repositioning can weaken the adhesive over time.
Q: Why are there bubbles after I have applied the wallpaper?
A: Bubbles can form if the wallpaper is not smoothed out properly during application. Use a squeegee or smoother to push out any air bubbles towards the edges as you apply the wallpaper.
Q: Can I apply peel and stick wallpaper over old wallpaper or tiles?
A: While it is possible, it is not recommended. The new top wallpaper ideas might not adhere properly, and imperfections from the underlying surface can show through. It is best to remove old wallpaper or tiles and prep the wall for a smooth application.
Q: How do I clean my Reusable wallpaper?
A: Most Peel-off wallpapers can be wiped down with a damp cloth. Avoid using harsh chemicals or abrasive materials, which can damage the wallpaper's finish.
Q: Will Pre-pasted wallpaper damage my walls when removed?
A: One of the advantages of Peelable wallpaper is that it is designed to be removable without damaging walls. However, always follow the manufacturer's removal instructions, and if you need clarification, test a small inconspicuous area first.